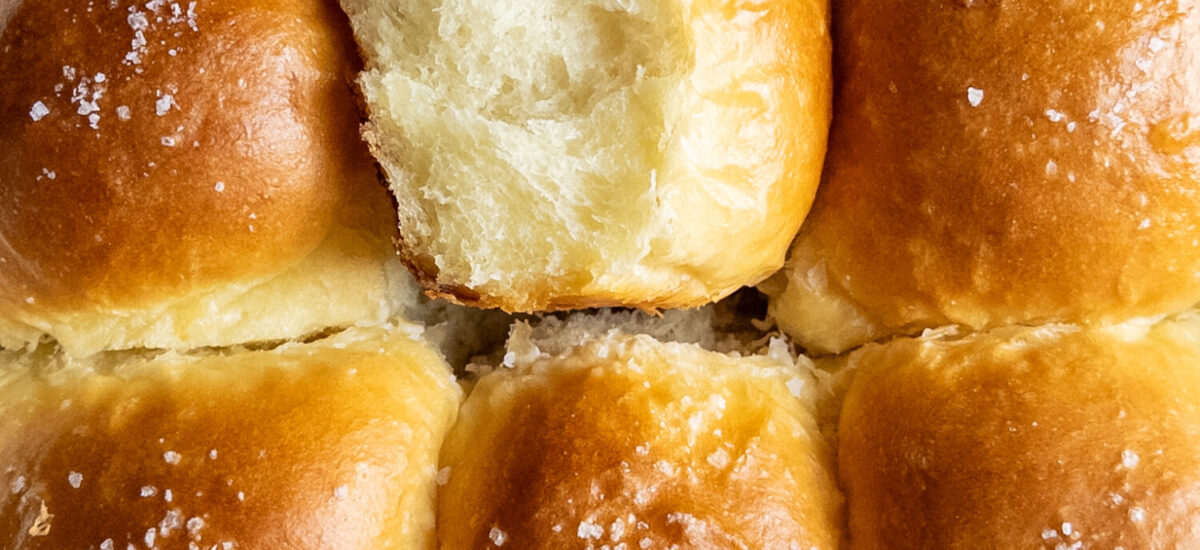
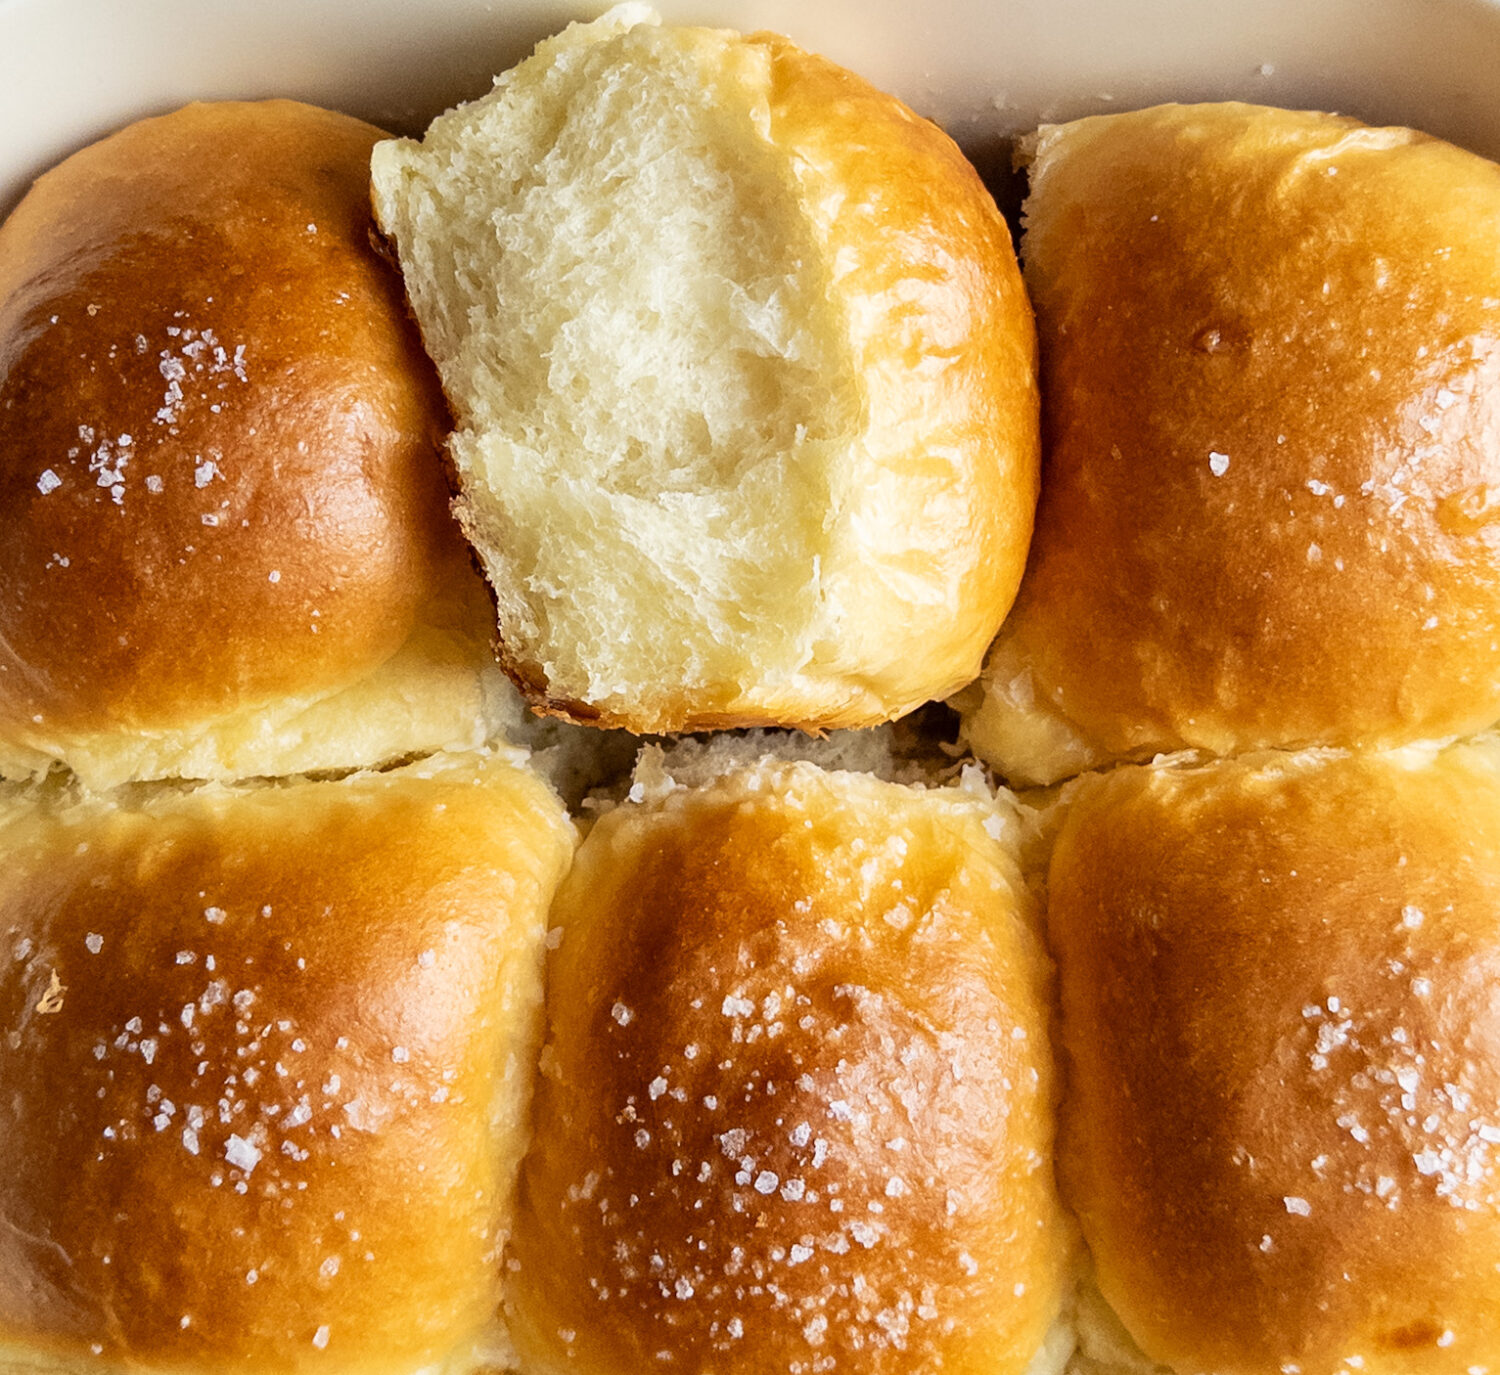
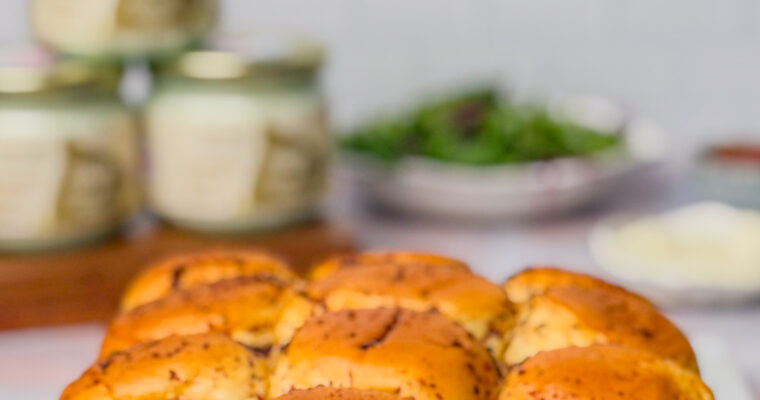
These fluffy dinner rolls are pillowy soft and the perfect vessel to sop up gravy and sauces, or for the perfect picnic sandwich. First time baking bread? Based on hundreds of TikTok reviews, where this easy bread recipe went viral, these rolls are totally beginner friendly and a surefire way to impress your family and friends. Make them for your next barbecue and don’t forget to save this for the holiday season!

Bread Baking Basics
I’ve been baking bread for decades now. My first go was a stuffed and braided loaf that I over proofed, but it was delicious nonetheless! That first experiment had me hooked on both how soothing bread baking can be, and the magic of going from a few ingredients, to sticky dough, to fluffy bread heaven in just a few hours! Here are some tips to get you started:
- Choose the right flour: Most breads can be made with all purpose flour, some call specifically for bread flour. This recipe uses bread flour. If you’re substituting with all purpose, you may require less water than written in the recipe below.
- Proofing the yeast: an important step in bread baking! Proof your yeast in warm water, too hot and the yeast won’t survive, too cold and they just won’t bloom. Always add sugar or honey to help feed the yeast for optimal blooming.
- Kneading: I recommend kneading for at least ten minutes in this recipe. The more you knead, the more gluten develops, the softer the bread. If you’re inclined to use your stand mixer, you’re welcome to. My suggestion is to knead by hand, after a quick mix in the stand mixer, performing a few stretch and folds. The motion of stretching, pulling and folding the dough over several times helps achieve the perfectly fluffy final result.
- Proofing the dough: proof the dough until it has doubled in size. Proofing for too long will result in the yeast fermenting and the dough having a pungent fermented scent to it. Do not let it proof for too long!
Fluffy Dinner Rolls
Ingredients
- 2 1/4 tsp active dry yeast instant works too!
- 6 tsp sugar or honey
- 1 cup warm milk 2% or whole milk
- 1/2 cup warm water
- 1/4 cup salted butter, melted
- 1 large egg
- 3 1/2-4 cups bread flour see note under bread baking basics, if using all purpose flour
- 2-3 tbsp softened salted butter
- 1 large egg + 1 Tbsp water for egg wash
- extra melted butter to brush over top once baked
- flaky salt, like Maldon for sprinkling once baked
Instructions
- Combine the yeast, sugar, milk and water in a small bowl. Mix, and set aside for five minutes or until the yeast has bloomed.
- Add in the melted butter and egg. Whisk to mix well.
- In the bowl of a stand mixer, or large bowl if kneading by hand, add 1 1/2 cups of the bread flour, salt and the yeast mixture.
- Using the paddle attachment, mix for a couple of minutes until the mixture is combined. The dough at this point will be very wet.
- Switch to the dough hook. Add in one cup of bread flour, mix to combine.
- Add in another half cup of flour, mix well. The dough should start to come together at this point.
- Continue to add flour *as needed*, a quarter cup at a time. Being mindful not to add too much or the dough will be too dry/hard.
- Once the dough starts to come together, is not too wet or sticky, stop adding flour. The dough will be slightly soft, but not sticky.
- Add in one tablespoon of softened butter, mix for two to three minutes until mixed well into the dough.
- Move the dough onto a flour dusted work surface and knead by hand.
- Stretch the dough in four parts, folding the stretched portion back into the centre before moving on to the next side. Ex: pull the dough gently from the top and back int the centre, repeat on each side of dough. My video on TikTok and Instagram have a great visual of how to do this, if needed.
- After about five minutes, add another tablespoon of softened butter. This helps the dough become smooth, as opposed to sticky.
- Knead for another five minutes.
- If the dough is still sticking to your fingers, continue to knead. Add up to another tablespoon of butter if needed.
- Cover and rise in a greased bowl for one hour.
- Once the dough has doubled in size, punch down and divide into 12 equal balls. For smooth tops, pull the dough downwards towards the bottom and pinch to seal.
- Place in a greased 9×13 baking dish, cover and rise for thirty minutes.
- Preheat the oven to 375F. Brush the buns with the egg wash and bake for 20-25 minutes, or until golden brown.
- Brush the hot rolls with melted butter and sprinkle with flaky sea salt
Notes
- slice the rolls in half, butter and heat in a skillet the next morning for a delicious side to your eggs
- best enjoyed on the day of baking
Can you put in the fridge and bake the next morning at room temp?
Hi Carlie, I haven’t tried going up to the second rise step and then putting the rolls in the fridge, so I can’t say for sure – you can refrigerate for the first dough proof for sure. If you cover the rolls well, and like you said bring them to room temperature before baking, I think it should work fine – if you try this I’d love to know how it goes!
I was so pleased with this recipe. At first I couldn’t get my dough to rise so I went on a limb and commented asking what I may have done wrong. This wonderful person spent two whole days helping me perfect my rolls. Most people wouldn’t even bother to comment back. I am so thankful for your kindness that you took the time out of your day both days to help me make these amazing rolls. You truly are a wonderful person 🫶🏼
Hi Tiffany! I’m SO glad you reached out, and even happier that we were able to troubleshoot and get you to make the perfect rolls for your family! Thank you so much for leaving a review!
@tSparkulz: I’ve made these multiple times since 1st seeing this in late 2023. The absolute best recipe!!! These are amaze-rolls!!! Thank you for sharing!!!
I’m so glad you’re enjoying them, thank you for your comment!
This turned out amazing!! I used AP flour because I didn’t have bread flour, and had to go based on how the dough was feeling. I started with 3.5 cups and added as needed. The salt/sugar/yeast I followed exactly as described and it was great.
Hi Shahjadi,
Thanks for leaving your review and tips for using all purpose flour! I’m so glad you enjoyed the rolls!
Loved how fluffy it came out everyone loved it, didnt even wait for it to cool down, easy to be done, love her recipes always, and i love that she can answer any question you have 💕. I will do it multiple time for sure my daughter is doing it next time. :
Hi Farah,
Thank you so much for your review, makes me so happy to hear that you and your family love these dinner rolls! I can’t wait to hear how they turn out for your daughter – as always, I’m just a message away if you have any questions 🙂
I find bread to be very finicky and things can easily go wrong very quickly. I have to say this is THE recipe to go to. So easy, so simple. Steps were clear and easy to follow.
Bread turned out amazing! Fluffy, soft and beautiful. Wish I had found this sooner!
Hey Ricalyn, Thanks for sharing your thoughts. I’m so glad you love this recipe as much as we do!
These rolls came out so buttery soft and fluffy. Just absolutely delicious!
The time spent on them is well worth it.